Vue.Js Installation
Vue.Js Installation:– To start with Vue.Js we have to import some required classes,libraries through installation steps. There are different ways to include Vue.js in your web project:
The easiest way to try out Vue.js is using by adding following simple script tag inside your html file.
- CDN(Content delivery networks)
- Vue-cli
- Node Package Manager (NPM)
- Install using Bower
Installation | Example
Using CDN
The easiest and recommended way to try out Vue.js for beginners is using by adding following simple script tag inside your html file.
<script src="https://cdnjs.cloudflare.com/ajax/libs/vue/2.3.0/vue.js"></script>
Or
<script src="https://unpkg.com/vue"></script>
Using Vue-cli
Here we are going to use Vue-cli to setup a new project and install the Vue.js library.
First, we need to install Vue client to add some libraries. Make sure that Node.js and the npm are already installed in your system and use the following command to install the Vue CLI globally on your local system:
$ npm install -g vue-cli
Once installation of Vue client is completed you can create a project using below command in a simple way:
$ vue init webpack firstvueapp
We’re telling vue to initiate a new project and use the webpack template. We also give the project the name firstvueapp. Executing the command comes up some important questions on the command line as you can see in the following screenshot:

The project is created in the folder firstvueapa. Navigate inside that directory with the following command:
$ cd firstvueapp
Now we will install all required dependencies which we need:
$ npm install
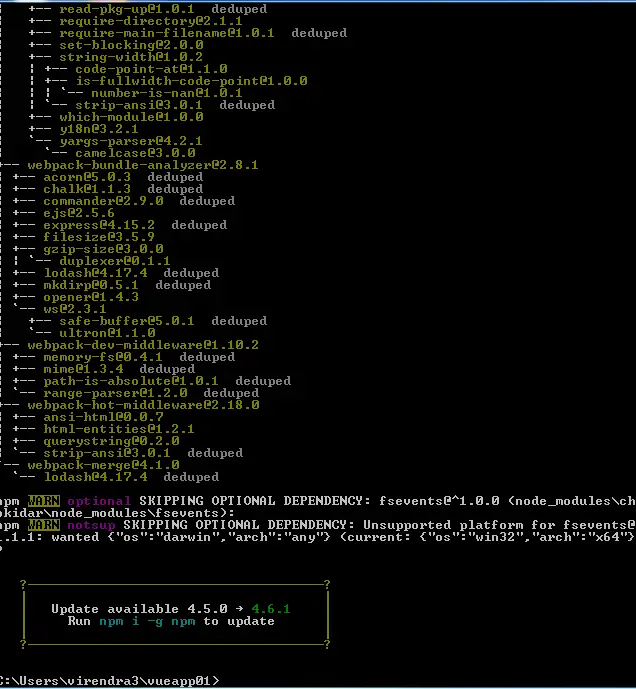
Following is the screenshot of outcome screen when we try above command inside our project folder:
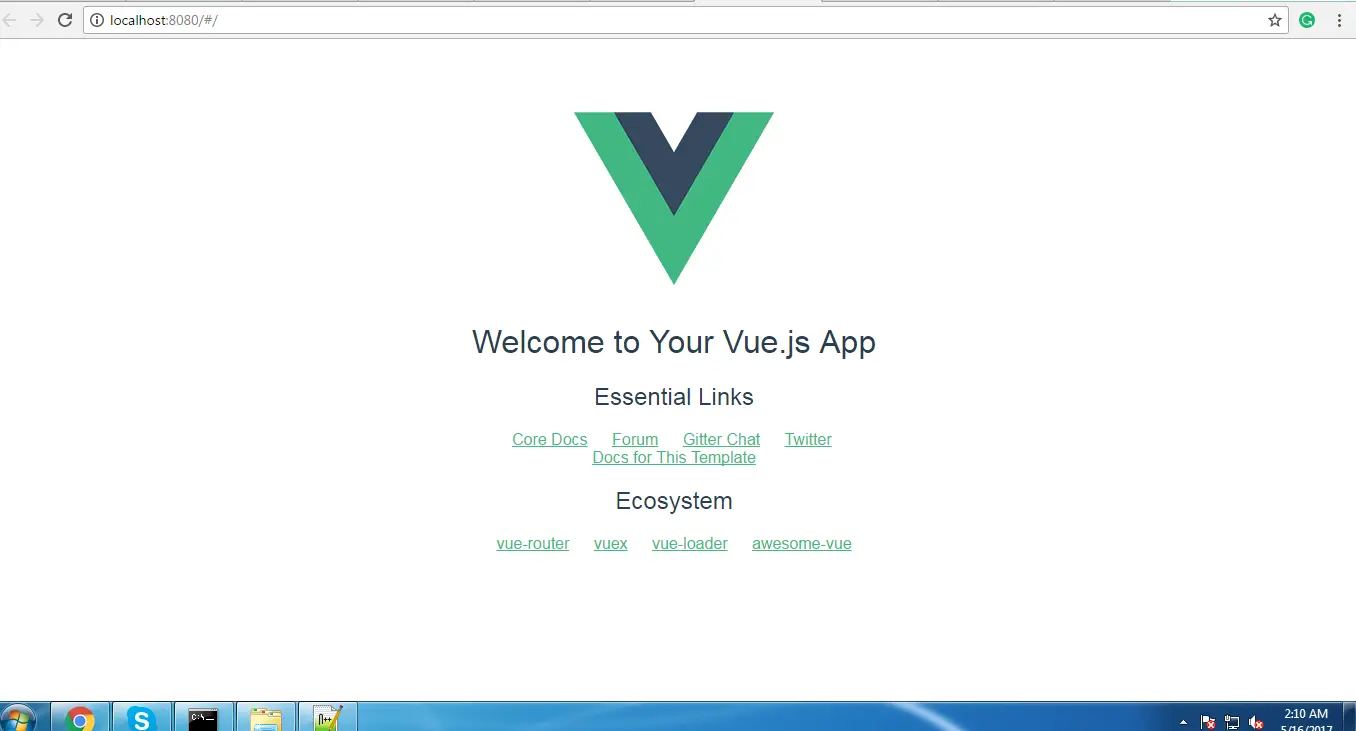
This will start the server on port 8080 and the application output is displayed in the browser automatically:
Advertisements


