Ionic Installation
Ionic Installation: Here We are going to explain the steps to install the most popular ionic framework on windows. The first and most important thing which needs to be considered is minimum requirement for building app. Ionic basically targets Android and iPhone Devices.
Ionic is supported in the following version of iOS and Android –
iOS 6+ :Ionic Supports in All iOS 6+ versions
Android 4.0+ : Ionic Supports all devices having Android 4.0+ versions.
You can develop on any operating system you wish. However we are going to explain the steps to install ionic on windows.
Ionic Installation & Environment Setup On Windows &
Steps To Install Ionic On Windows –
- Install Node.js. If You have not installed node.js install first here are steps to install node.js – Install Node.js
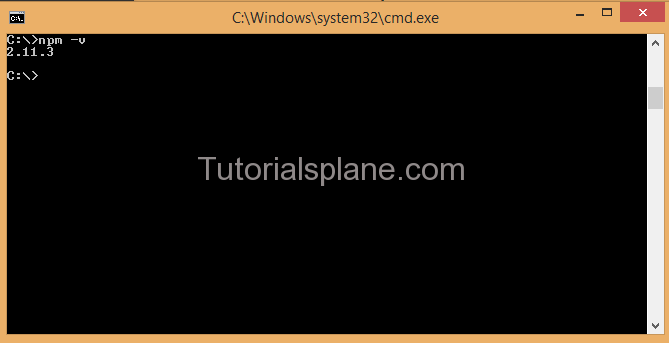
Check Node.js is Installed ?
You can check Node.js Version as Below –
Open terminal and type npm -v which will return the version of node.js.
npm -v
- Install Cordova – Install Latest Version of Cordova to use native functionalities.
Run the following command to install cordova.
Ionic Install Apache Cordova-
npm install -g cordova
Note : Before Installing Cordova Make Sure Node.js is Installed. - Install Ionic: Install Ionic Command is –
Ionic Install Command-
npm install -g ionic
Which Will Install Ionic on your system. Now Your system is ready you can use ionic’s powerful CLI to create,start and build the projects.
- Create Sample Project : You can create sample Project As Below –
Ionic Create First App “myApp”-
ionic start myApp blank
Which Will Create A Blank Project.
- Run Ionic App : You Can Use the following command to run the “myApp” Which will open in browser-
Ionic Create First App “myApp”-
ionic serve

Advertisements
Add Comment
📖 Read More
- 1. Ionic Header
- 2. Ionic Content
- 3. Ionic Footer
- 4. Ionic Buttons
- 5. Ionic List
- 6. Ionic Cards
- 7. Ionic Form
- 8. Ionic Toggle
- 9. Ionic Checkbox
- 10. Ionic Radio Button


