Angular Material Radio Button
Angular Material Radio Button : <md-radio-button> is used to create radio button in Angular Material. <md-radio-button> is basically child directive which is used with <md-radio-group>. Here in this tutorial we are going to explain how to create radio buttons with various example and demo. You can also use our online editor which enables user to edit and run code online.
Angular Material Radio Button Example
Let us create a simple Radio button using <md-radio-button> directive to understand this-
Angular Material Radio Button Example:
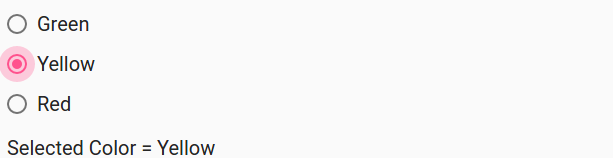
 <md-radio-group ng-model="color">
             <md-radio-button value="Green" aria-label="Green"> Green</md-radio-button>
             <md-radio-button value="Yellow" aria-label="Green"> Yellow</md-radio-button>
             <md-radio-button value="Red" aria-label="Green"> Red</md-radio-button>
             <p>Selected Color = {{color}}</p>
    </md-radio-group>
|
| Try It On → |
If you run the above example it will produce output which will look like this –
Options Available
Following options are available which you can use as per your requirement-
- * ngModel(string)
Assignable angular expression to data-bind to. -
* ngValue(string)
Angular expression which is used to set the value to which the expression should be set when selected. -
* value(string)
The value of radio button when selected. -
ngChange(string)
This is executed when change event occurrs. -
name(string)
Property name of the form in which the control is to be published. -
aria-label(string)
Adds label to radio button for accessibility. Default value is set to radio button’s text. If you have provided no text content then a warning will be logged.
Advertisements


